MODX installation on Mirohost hosting
-
Step 2. Download the latest version of MODX distribution package.
-
Step 3. Load all received files to root directory of your website.
MODX installation
- Step 4. Run the installation
Start the installation after files downloading and database creation. Enter http://example.com/setup, in browser address bar, where ‘example.com’ is your website address. Select the system language.

Press ‘Select’
- Step 5. Skip the start page by pressing ‘Next’

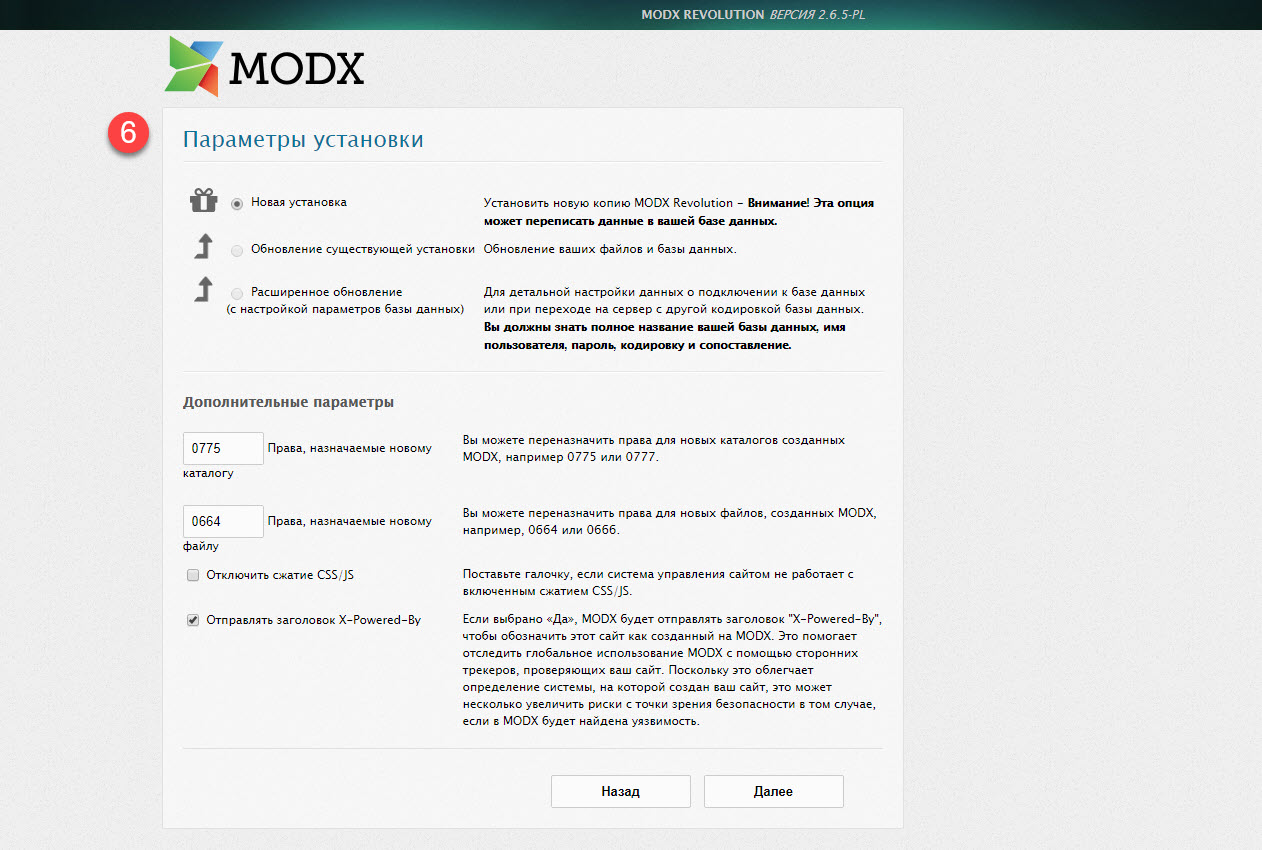
- Step 6. Settings
On this stage you are able to select the type of installation. Select ‘New installation’, because you make a new website.

Press ‘Next’
-
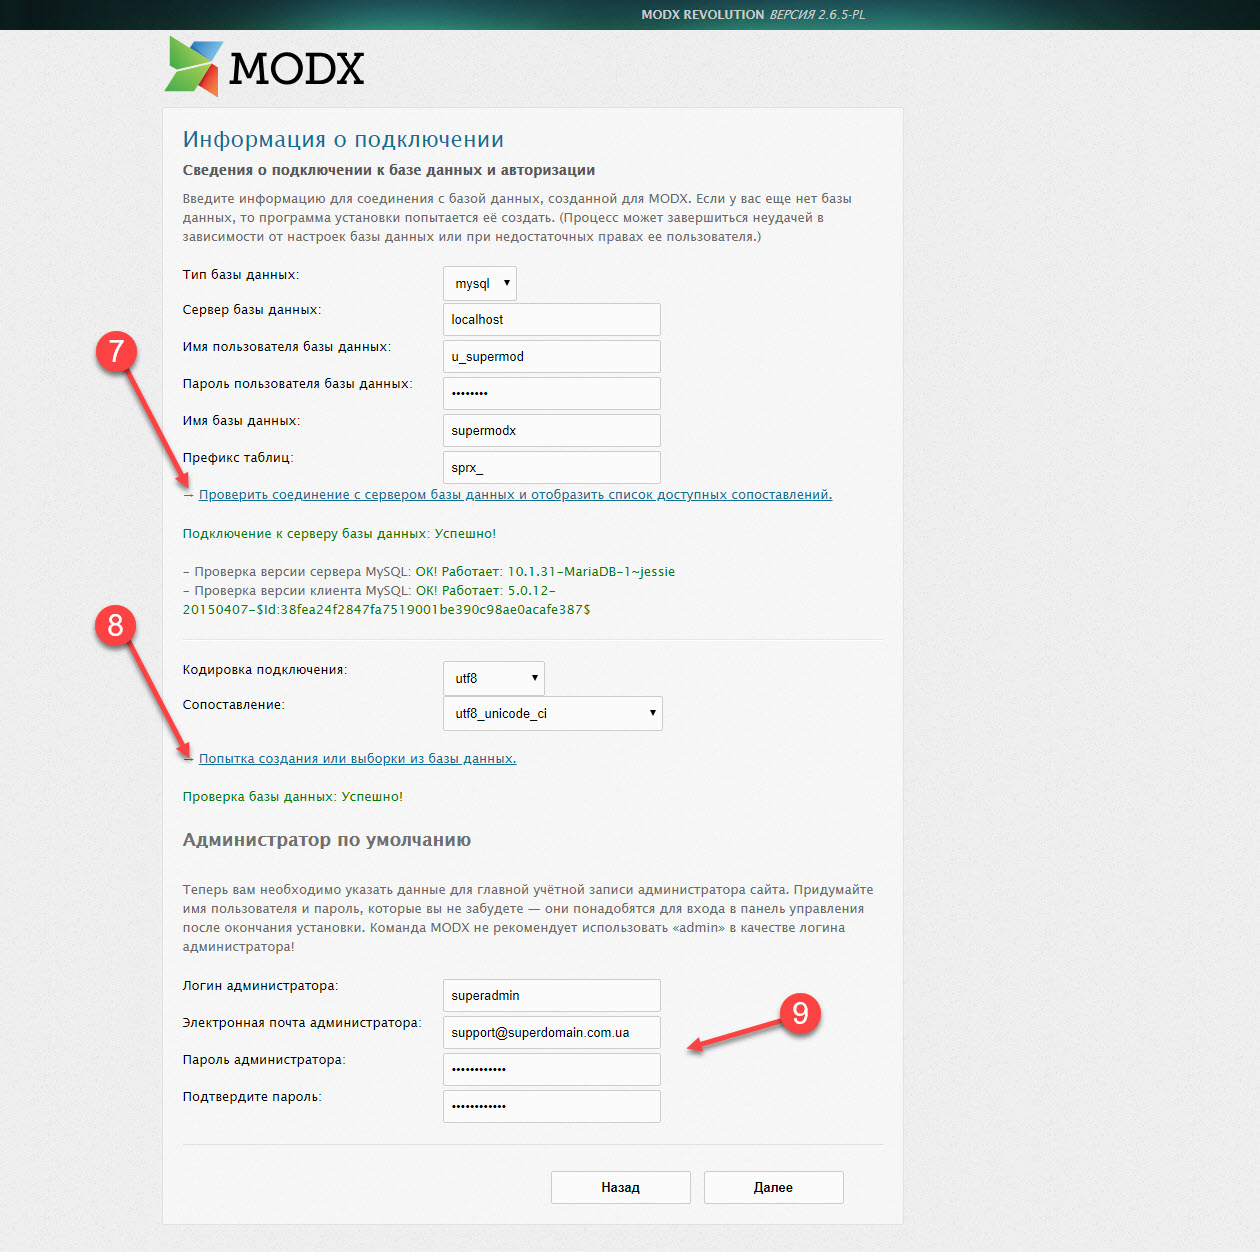
Step 7. Specify database settings
-
Database type — keep it by default.
-
Database host — keep ‘localhost’ setting.
-
Database login name
-
Database password
-
Database name
-
Table prefix — keep by default or set yours.
Press ‘Test database server connection and view collations’ to make sure that data is correct.
- Step 8. Database creation
If the test is successful, press ‘Create or test selection of your database’.
-
Step 9. Enter website admin data.
-
Administrator username
-
Administrator email
-
Administrator password
-
Confirm password

Press ‘Next’
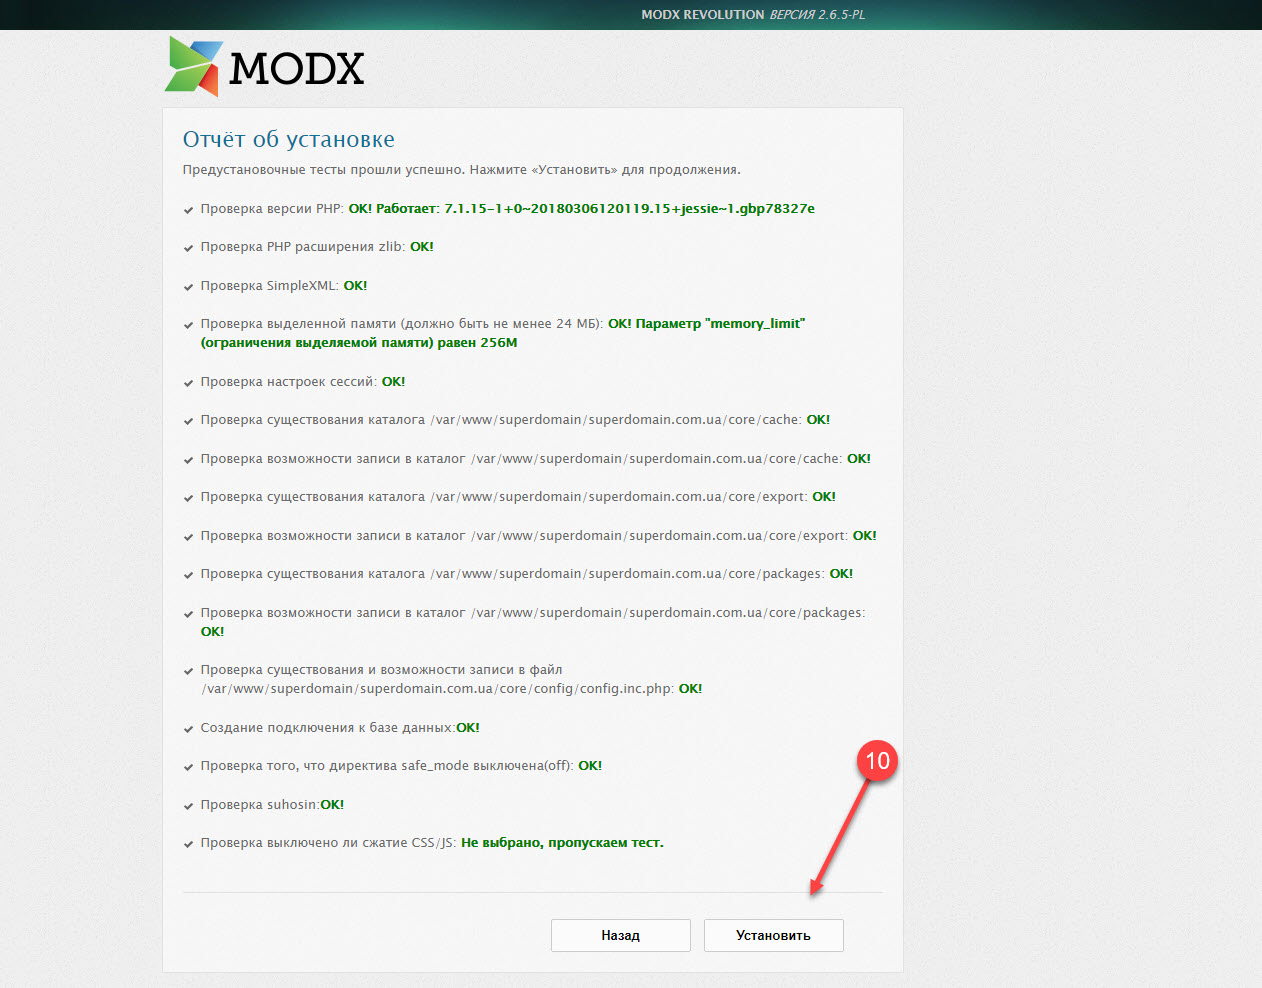
- Step 10. Installation report
At this stage you will get results of pre-installation checks

Press ‘Install’
- Step 11. Read the installation report.

Press ‘Next’
- Step 12. Delete the setup directory and files.
Make sure that this point is checked.

Press ‘Login’
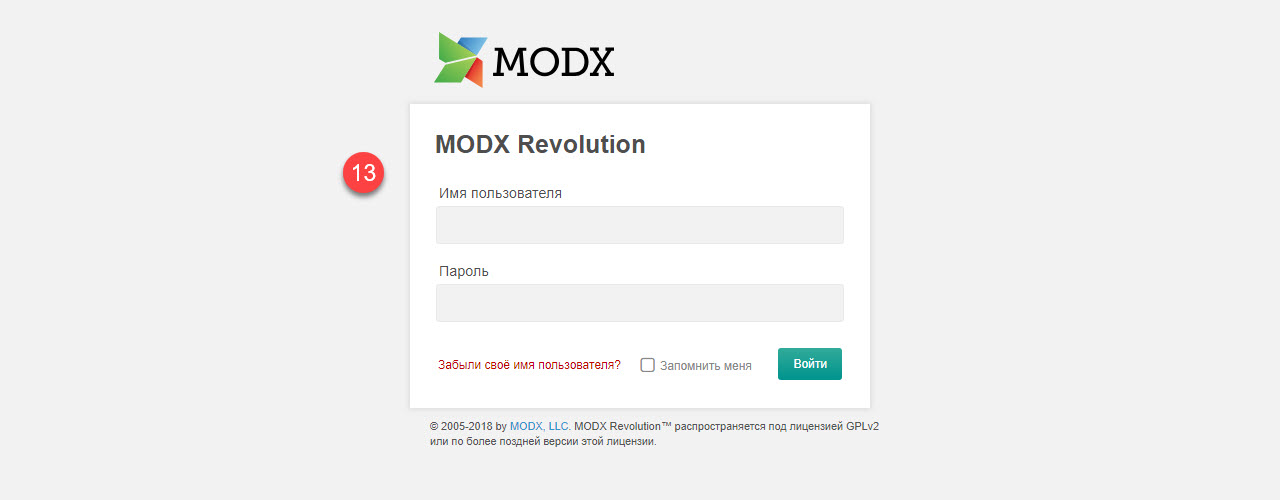
- Step 13. Login to the MODX admin panel with your login.

