CMS installation in the Mirohost control panel
Using the Mirohost control panel, you can install CMS just in a few clicks.
WordPress CMS installation
Step 1. Login to the Mirohost control panel
Step 2. Select the required hosting package and then the domain for which you need to configure
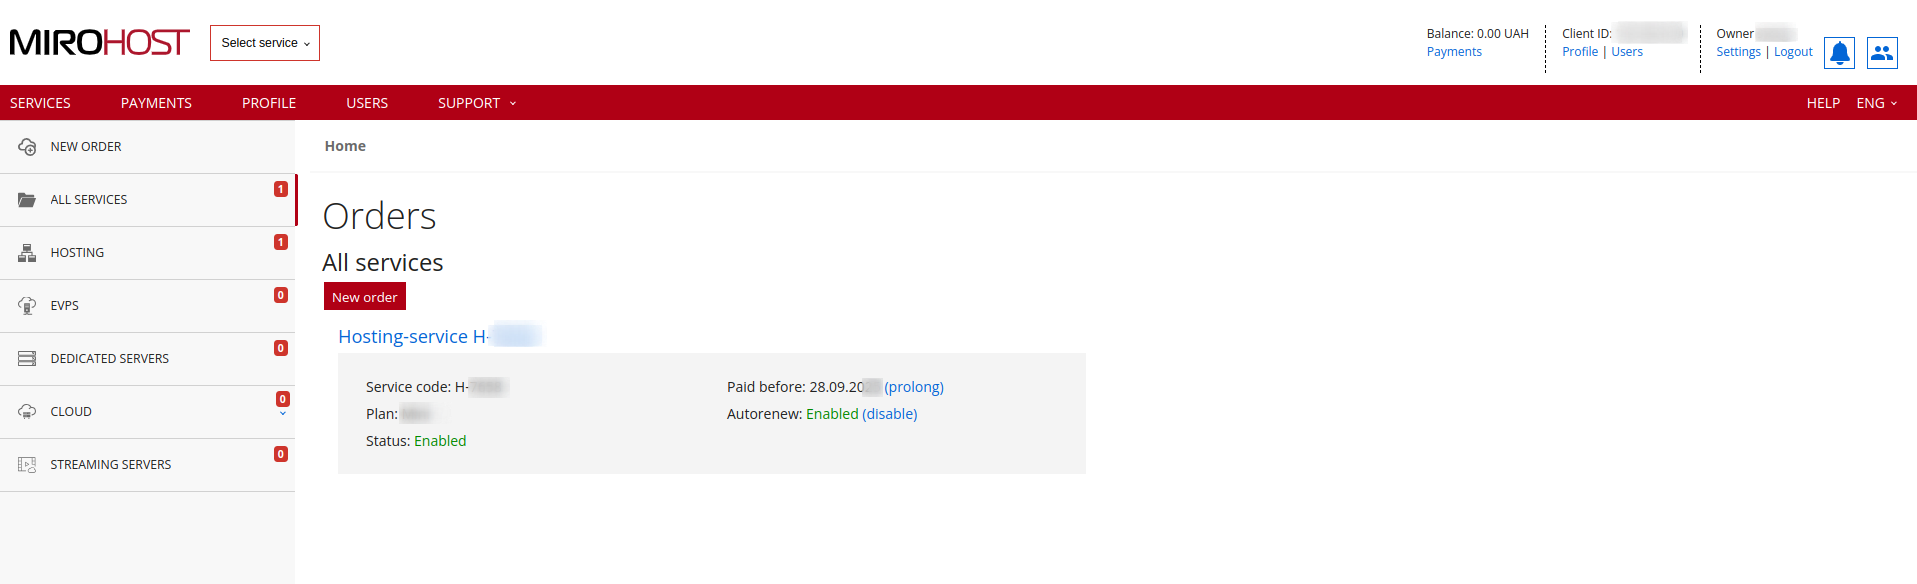
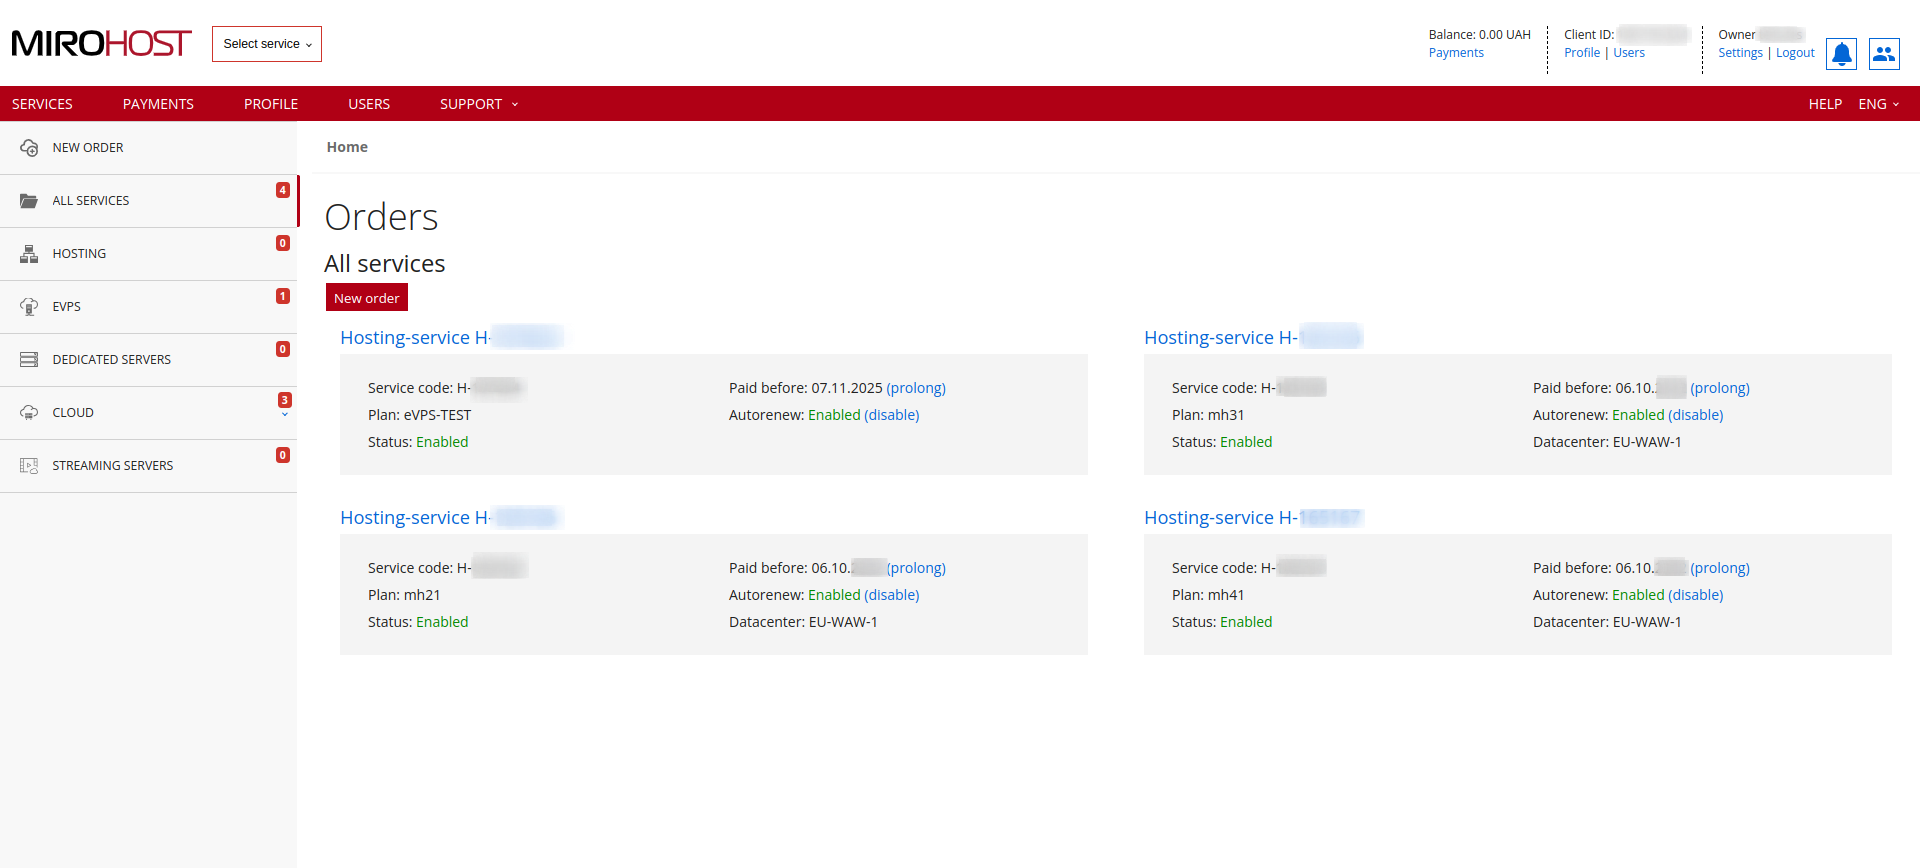 If you have registered one hosting package, click on "Hosting-service H-******" and select the domain for which you need to configure
Step 3. Select 'To the developer' -- 'Install WordPress'
Step 4. Appoint the path for WordPress installation.
- Install website to root folder — in this case CMS will be available with the main domain.
- Install website to subfolder — you can specify a directory name within domain.
- Install website to subdomain — in this case your website will be available on the specified subdomain.
Note! If you want to install CMS into subdomain, you must use NS servers Mirohost or write the subdomain and IP address in your domain settings by A-record. You don’t have to create additional subdomain.

Step 5. Select the main website language.
Step 6. Enter the website name.
Step 7. Enter an email of the website owner.
Step 8. Select which database should be used. In our case, keep default settings.

Step 9. Website is ready for using.

Joomla! CMS installation
Joomla! CMS installation is similar with the process described above.
See also
- DNS records management (A, MX, TXT, CNAME) in the Mirohost control panel
- Backup copies
- SSL certificate
- File manager
- Management FTP/SSH accounts
- Databases creation and management in the Mirohost control panel
- CMS installation in the Mirohost control panel