DNS records management (A, MX, TXT, CNAME) in the Mirohost control panel
DNS records management in the Mirohost control panel
Step 1. Login to the Mirohost control panel
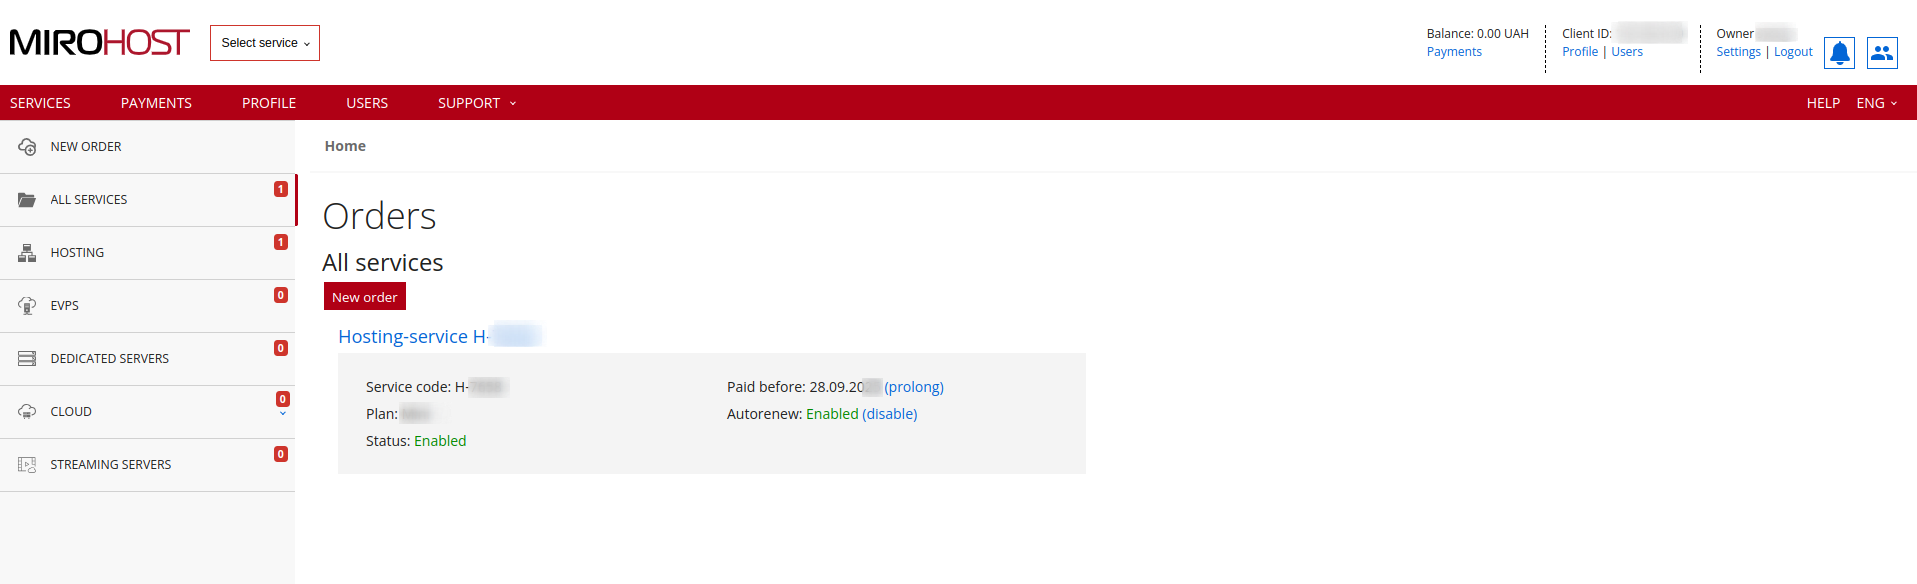
Step 2. Select the required hosting package and then the domain for which you need to configure
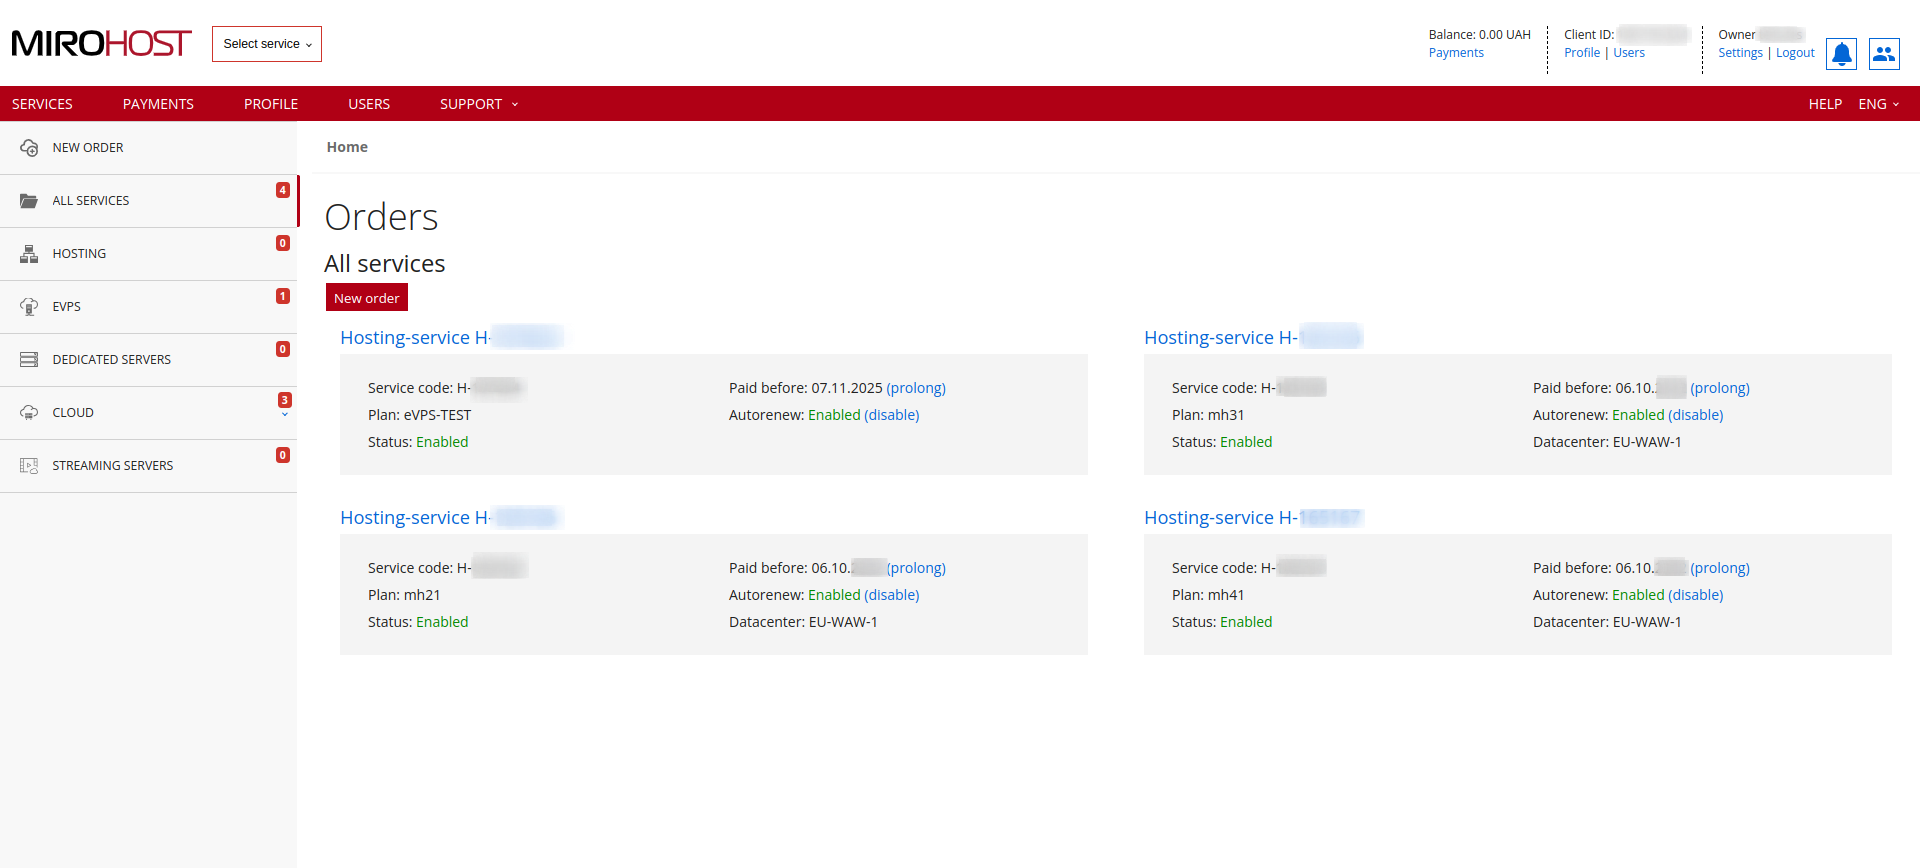 If you have registered one hosting package, click on "Hosting-service H-******" and select the domain for which you need to configure
Шаг 3. Select ‘Zone settings’ (Zone management → Zone settings).
Шаг 4. Make your settings
Шаг 5. Apply the settings.


Using Mirohost NS servers you are able to manage zine settings just in the account control panel.
The list of Mirohost NS servers
- ns1.mirohost.net
- ns2.mirohost.net
- ns3.mirohost.net
See also
- Backup copies
- SSL certificate
- File manager
- FTP/SSH management’
- Databases creation and management in the Mirohost control panel
- CMS installation in the Mirohost control panel