Databases creation and management in the Mirohost control panel
Step 1. Login to the Mirohost control panel
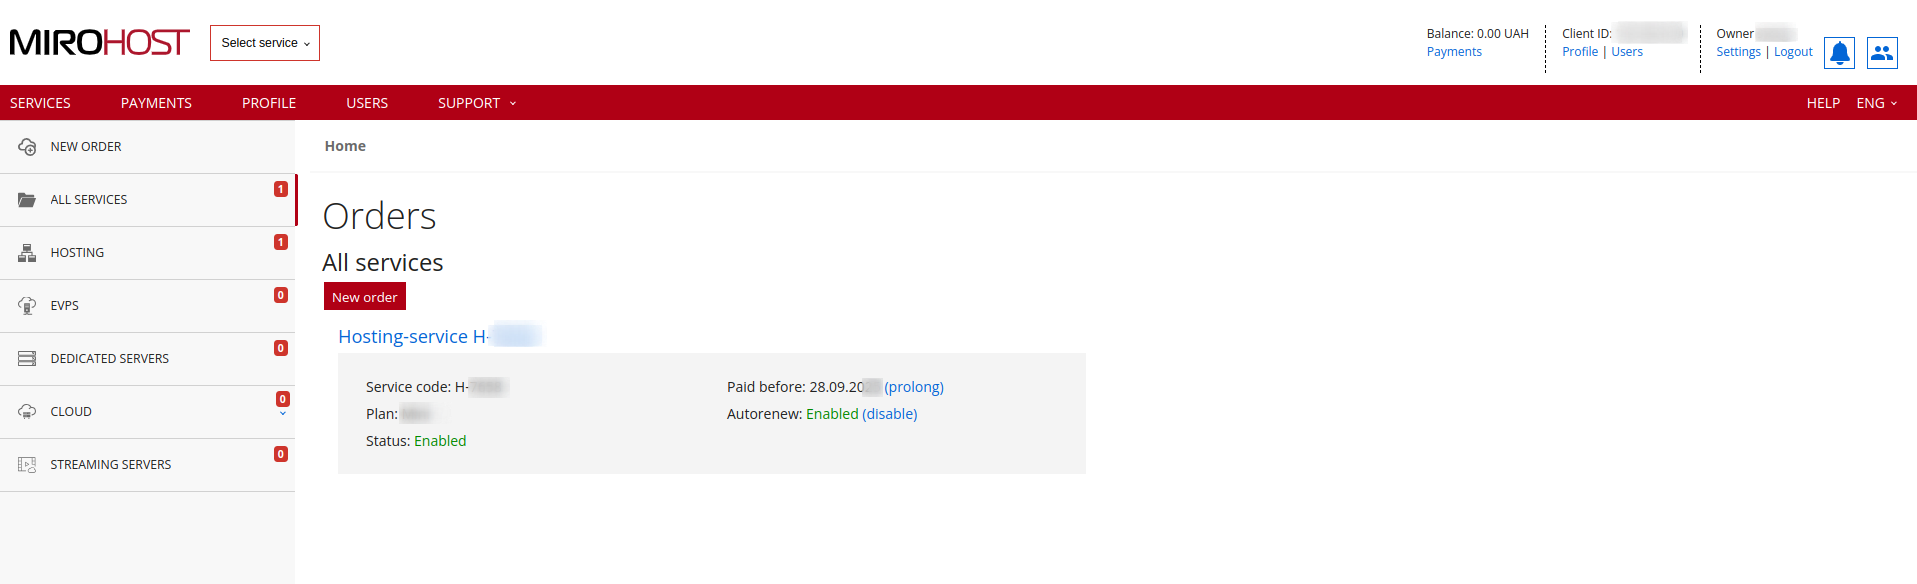
Sep 2. Select the required hosting package and then the domain for which you need to configure
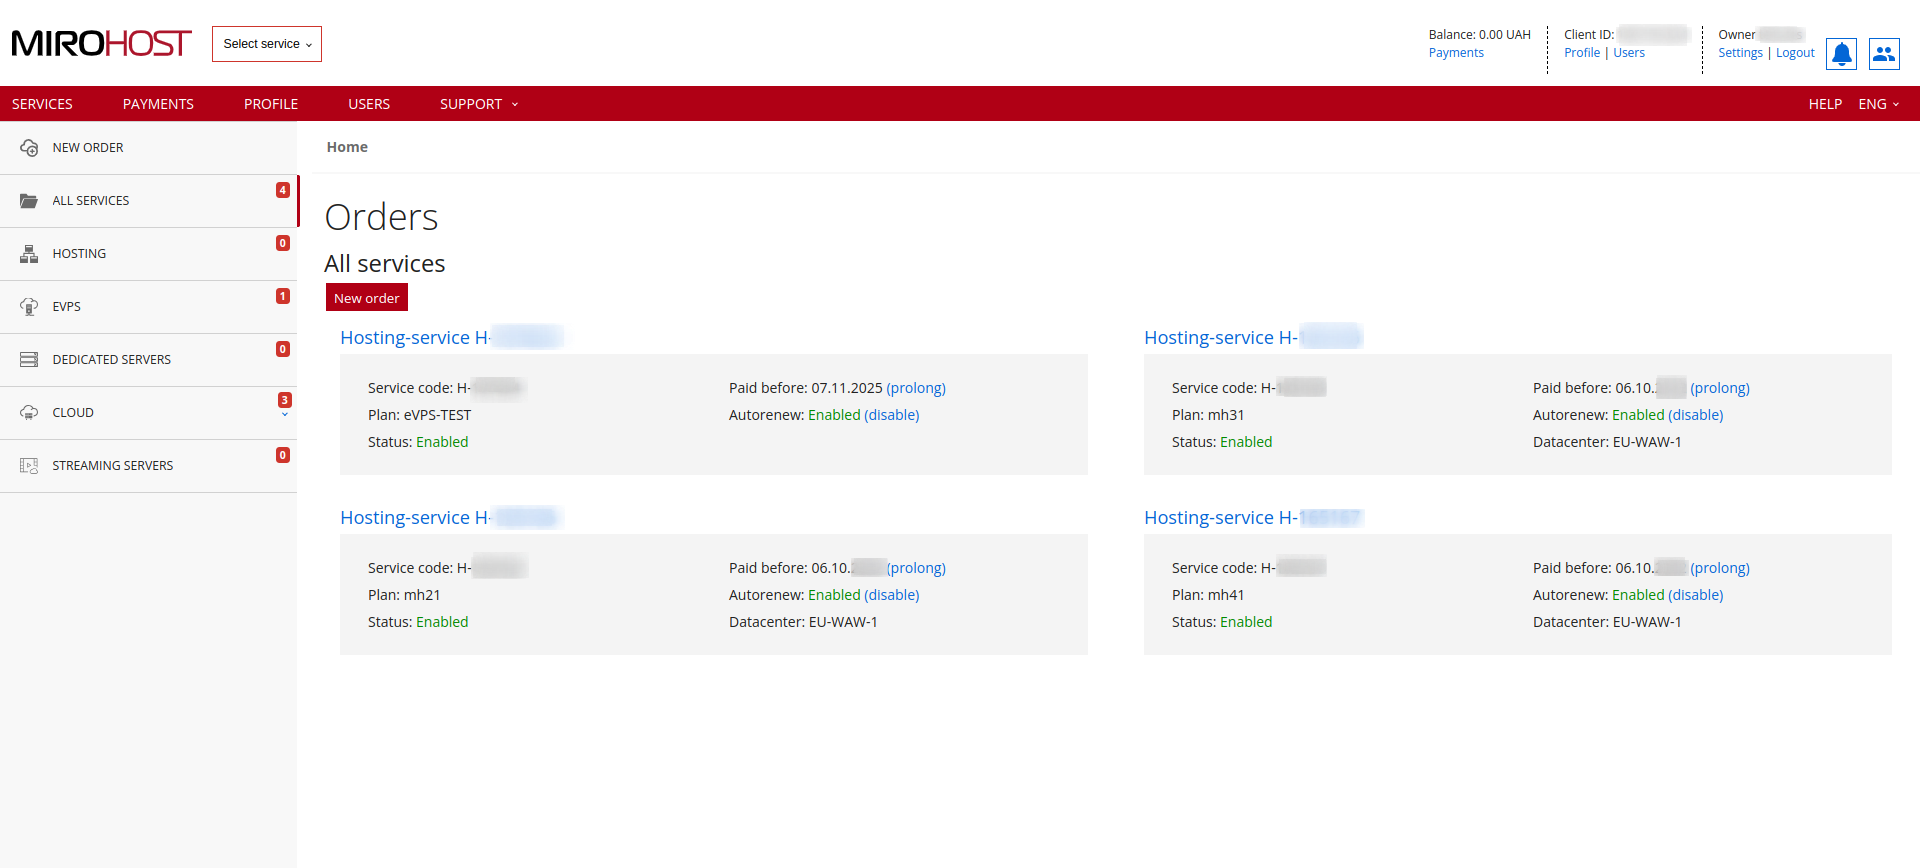 If you have registered one hosting package, click on "Hosting-service H-******" and select the domain for which you need to configure
Step 3. Select ‘mySQL manager’ (mySQL management → mySQL manager). When the new website is registered, a database is created by default.

Step 4. Go to ‘Create database’ tab.
Step 5. Generate a name for your database.
Step 6. Press ‘Add’ and finish the creation.

Step 7. Database user management.
After database creation, the user is automatically created. You can change password for this user. Use the database name, username and password to plug your CMS or website. For remote access to the database you should add user and specify the IP for which the connection is provided in host field. % sign in host field means that a connection is allowed to any IP.

