Website management in the Mirohost control panel
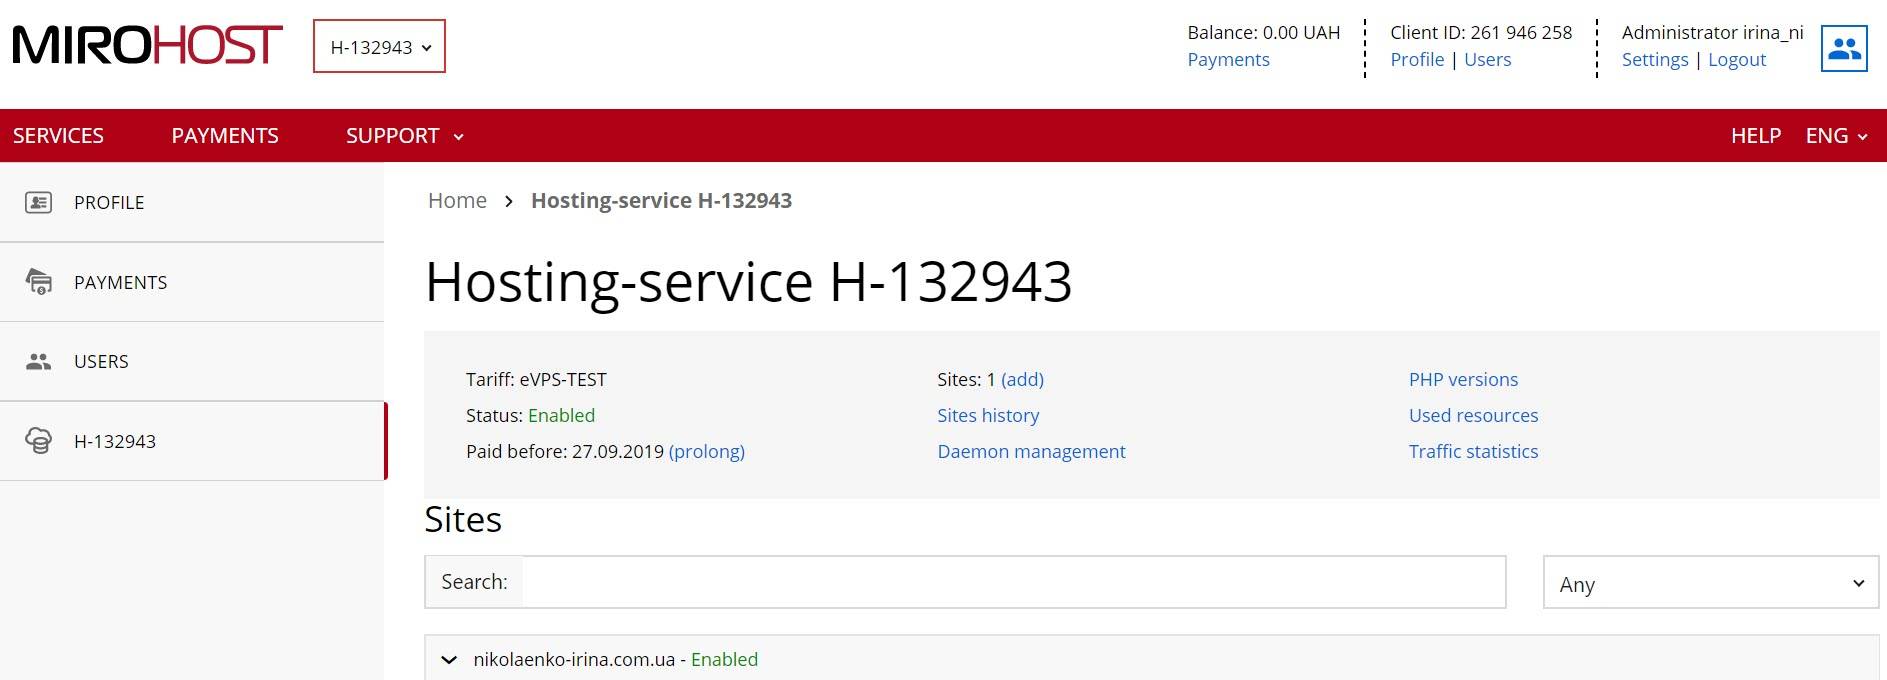
The Mirohost control panel can be conditionally divided on two parts:
- Hosting account management with billing, general information about services, accesses for additional users, statistic, etc.
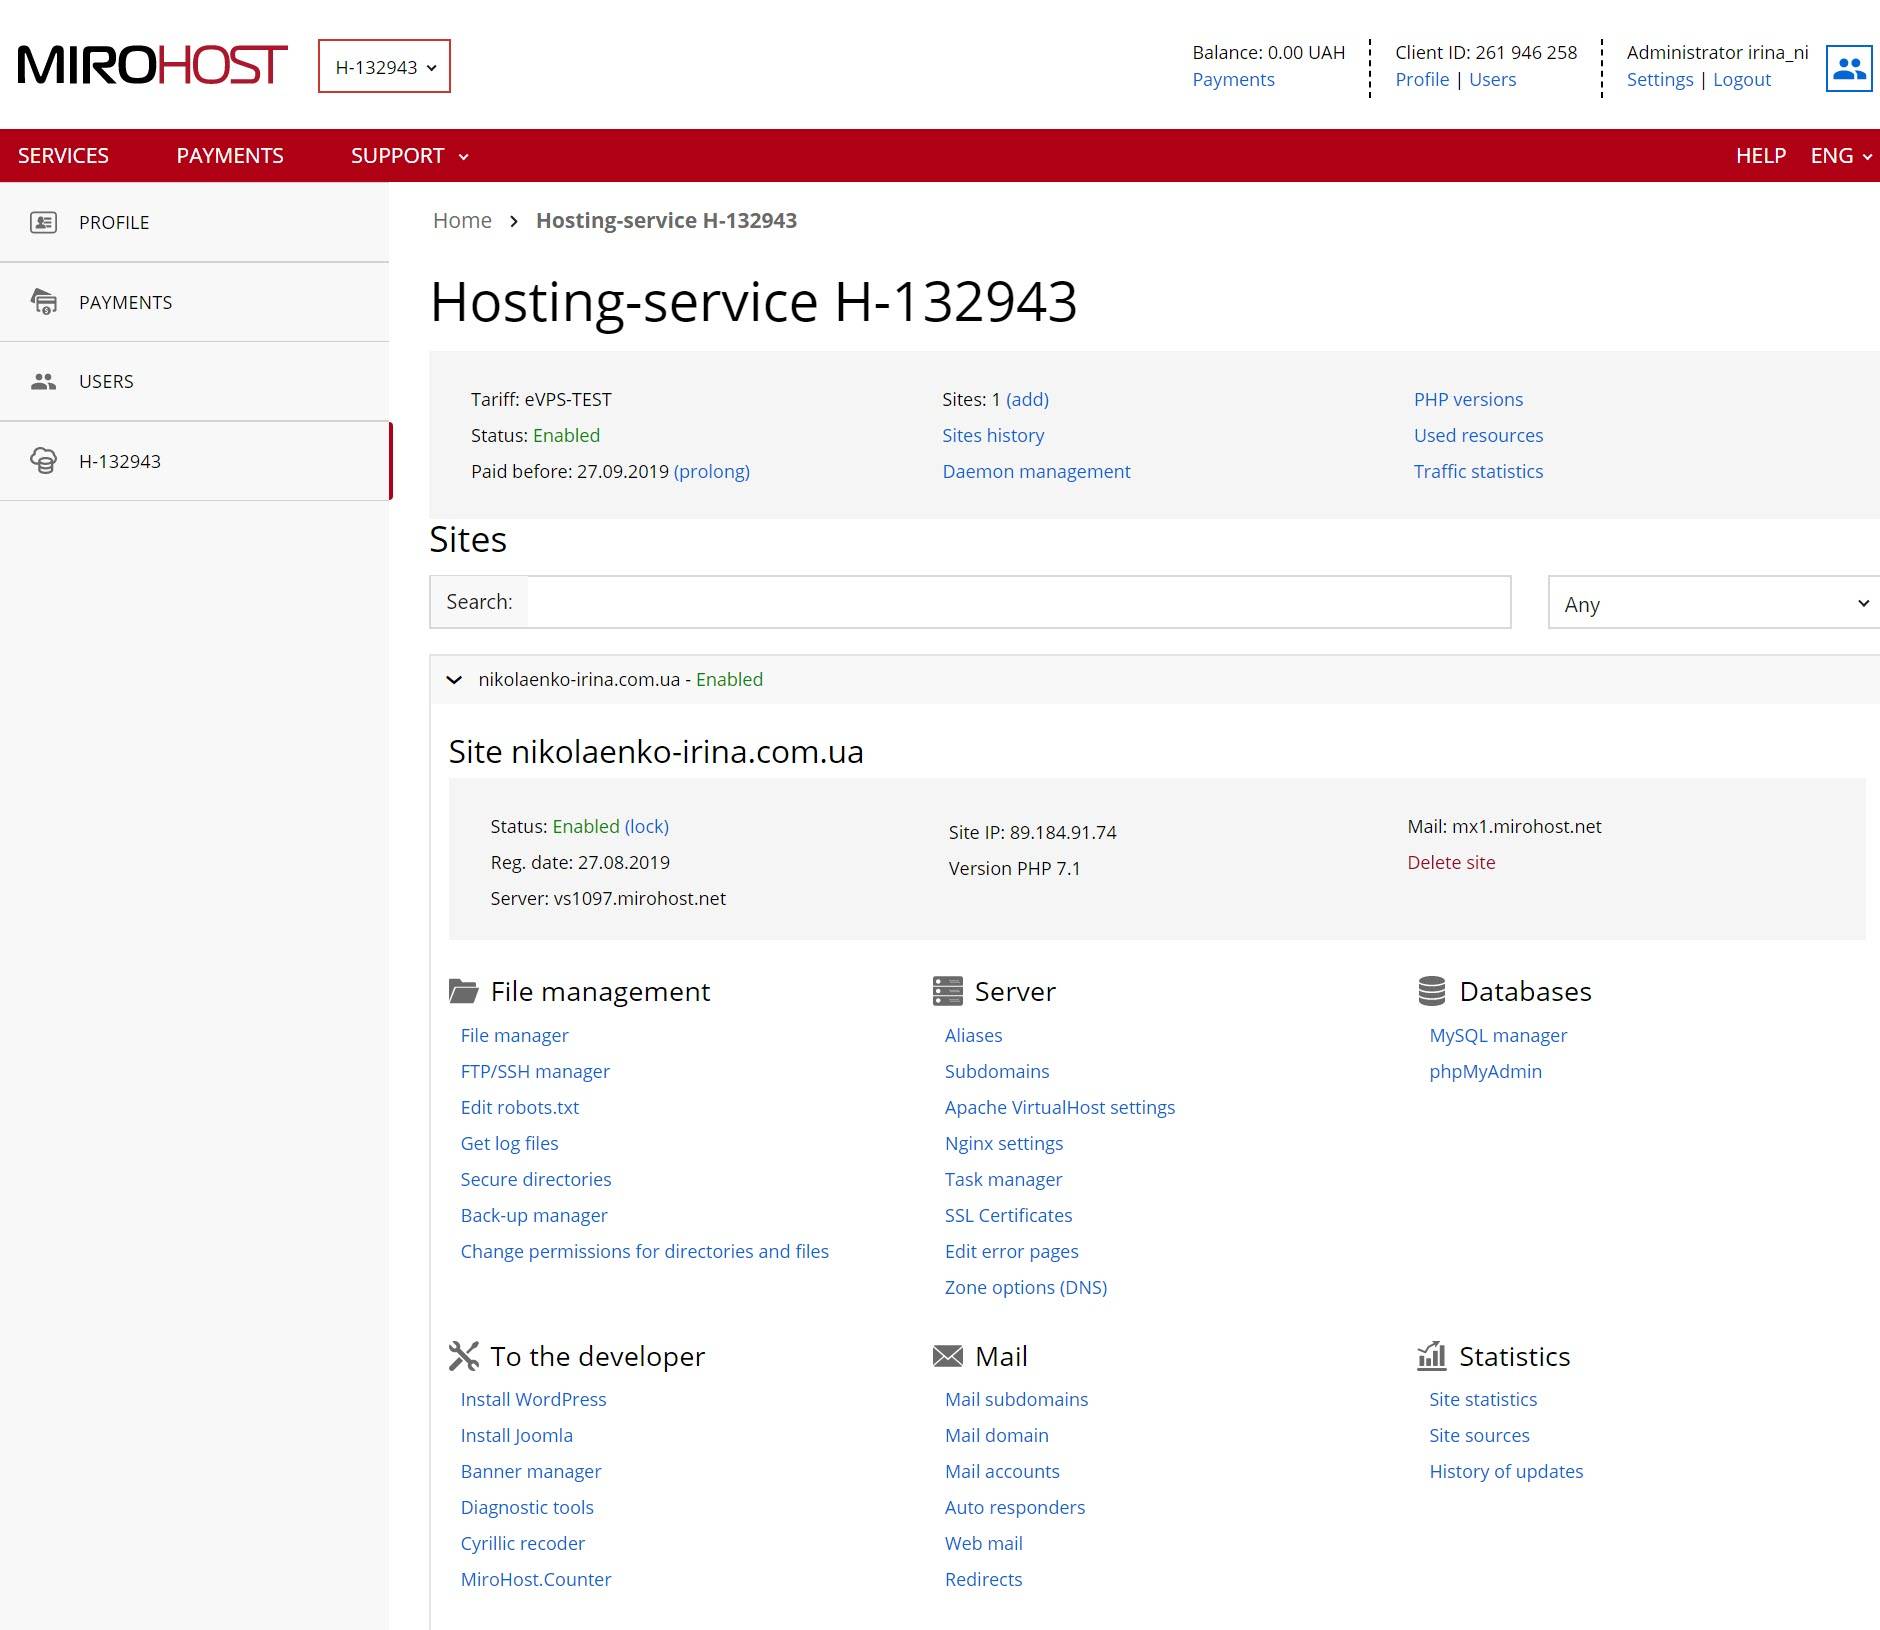
- Website management where you can create ssl certificates, backups, install CMS, change Apache VirtualHost and Nginx settings.
How to turn to website management?

- Step 1. Login to the Mirohost control panel
- Step 2. Go to ‘My websites’ > ‘Website management’ section.
- Step 3. Select the domain and press ‘Next’
A core list of instruments for website management
- File manager
- FTP/SSH manager
- Error pages
- Directories passwording
- Task manager
- Backups
- Apache VirtualHost settings
- Nginx settings
- SSL certificates including free Let's Encrypt SSL certificate
- CMS installation
- Alias and subdomain creation
- Domain email management
- Managements of mySQL including phpMyAdmin
- DNS settings management
- Website statistics

