How to create SSL certificate in the Mirohost control panel
SSL certificate is digital signature that makes it possible to provide safe encrypted connection between wer server (website) and web client (browser) by HTTPS protocol. In turn, HTTPS uses cryptographic SSL or TLS protocol for data encryption.
SSL certificate is needed for resources that work with personal data, payment systems, and confidential information. Such data encryption allows to protect it from its interception by third parties and do is the evidence of caring for users.
How to create SSL certificate for your website?
Step 1. Login to the Mirohost control panel
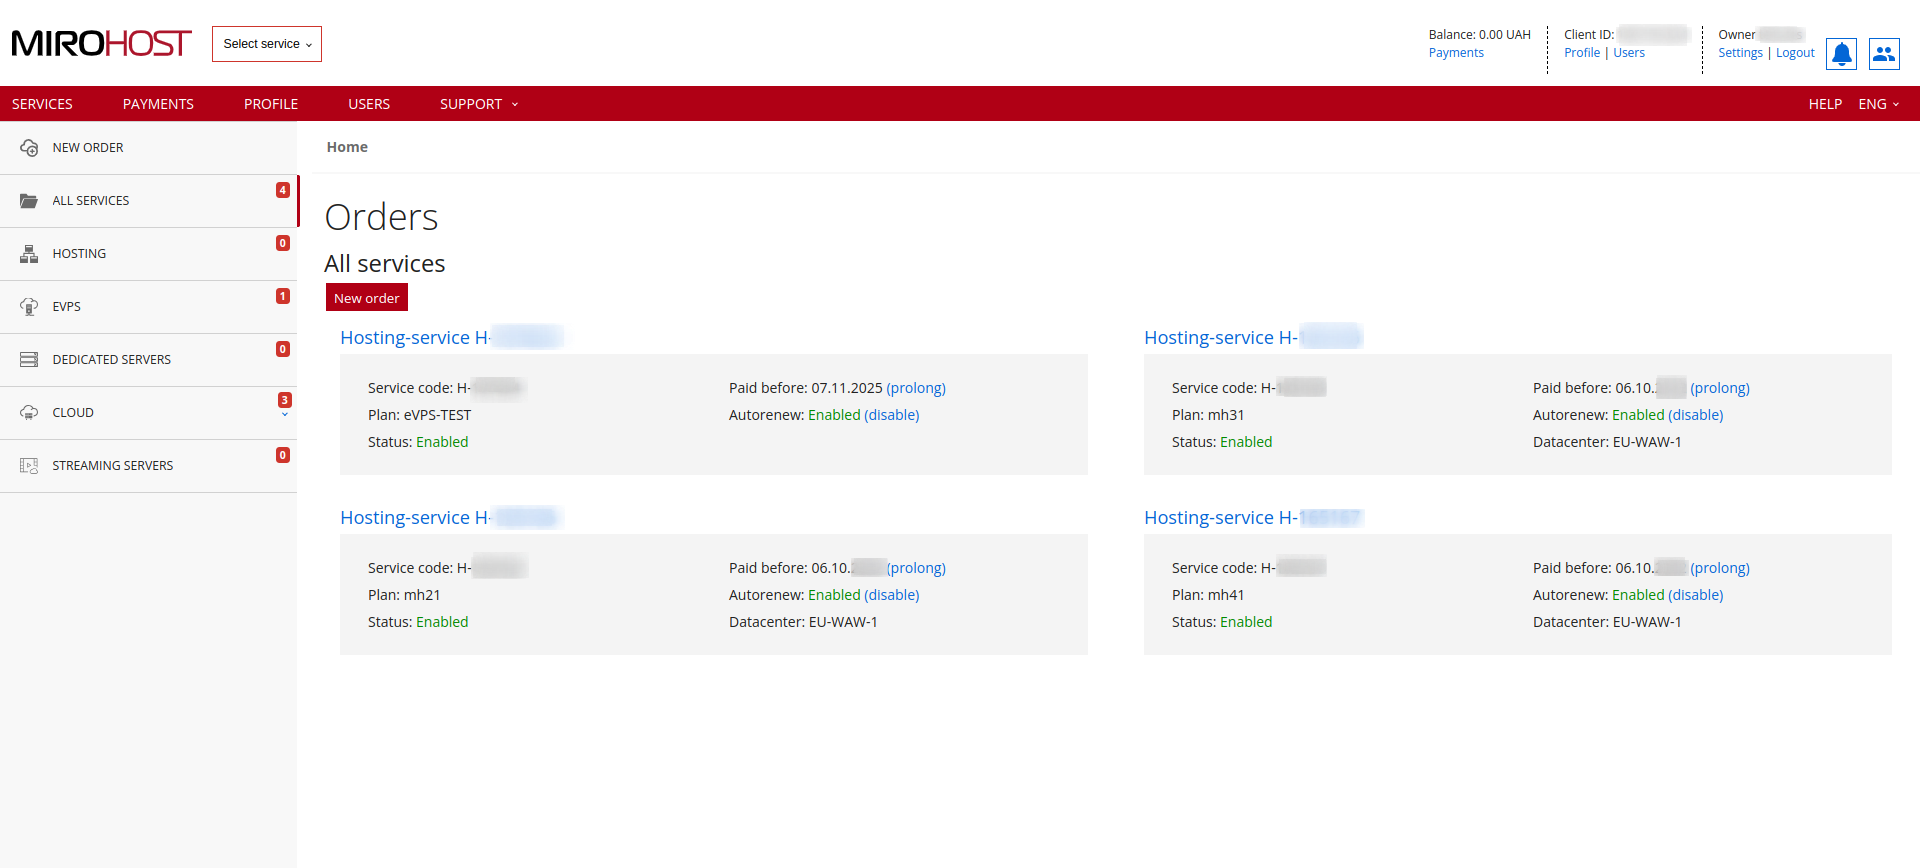
Step 2. Select the required hosting package and then the domain for which you need to configure
 If you have registered one hosting package, click on "Hosting-service H-******" and select the domain for which you need to configure

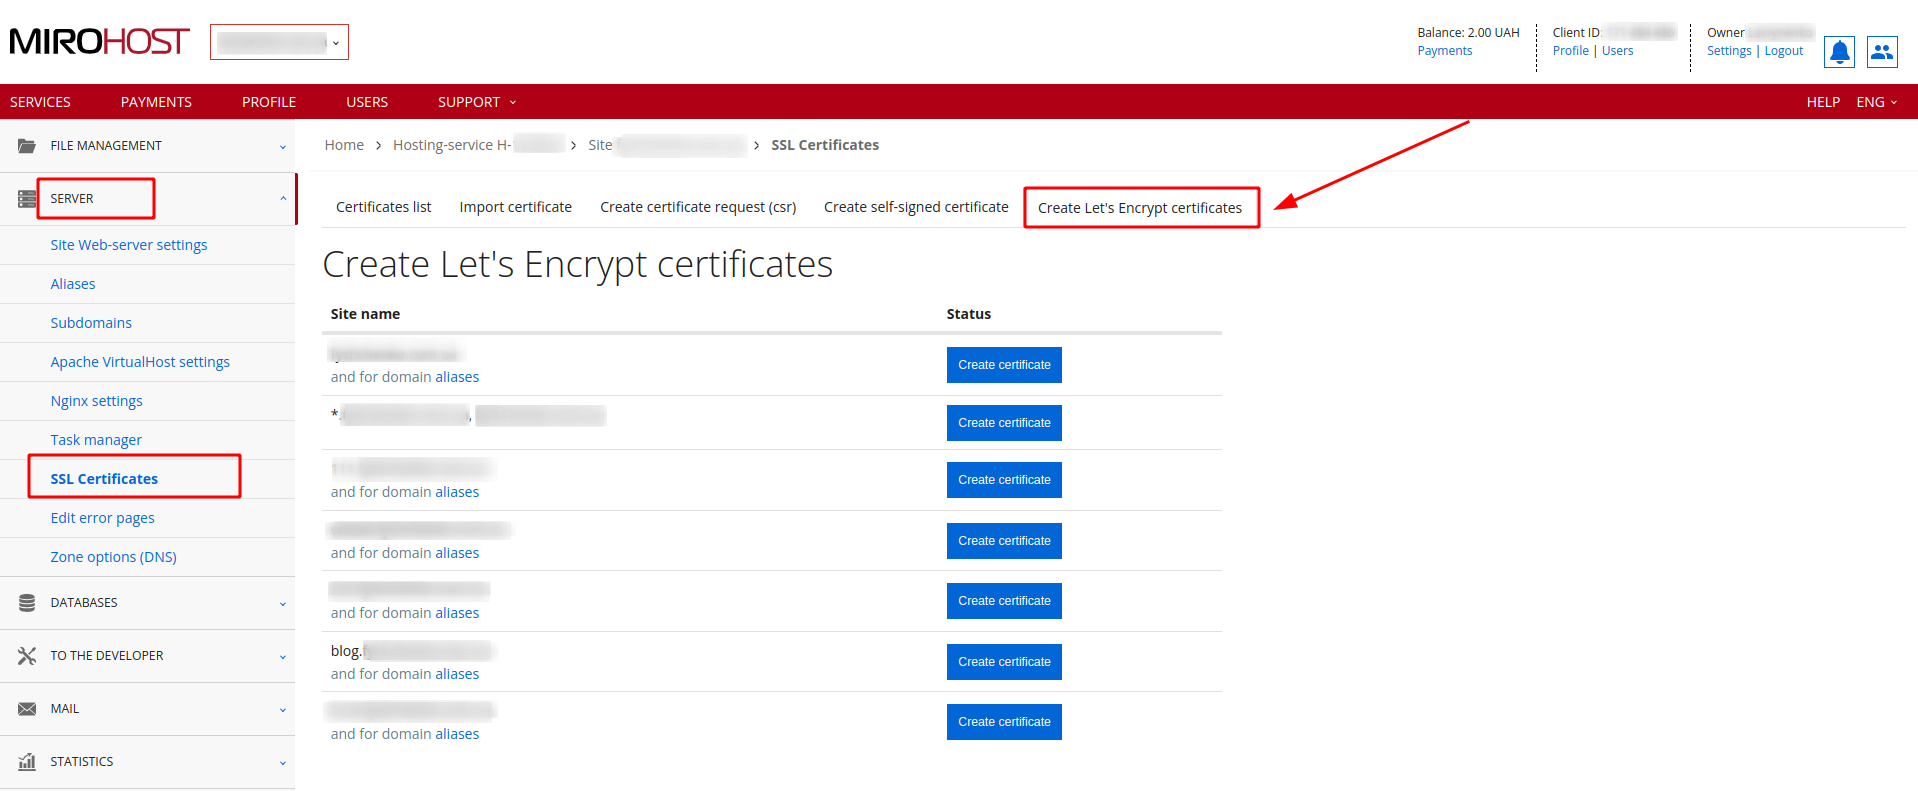
Step 3. In the "Server" section, select "SSL Certificates"
Step 4. Select "Create Let's Encrypt certificates"

You can use a free Let's Encrypt certificate that can be generated and installed through your hosting control panel.
We draw your attention to the fact that there are two types of Let's Encrypt certificate, they differ from each other
Let's Encrypt (and for domain aliases) - free certificates to protect websites. This certificate is set for a period of 3 months and is renewed automatically, the main condition for renewal is that the domain must be active and must provide our IP address.
Let's Encrypt wildcard certificate ( * .example.com, example.com) is a type of SSL certificate that allows you to protect an unlimited number of already created subdomains of one domain. Instead of getting separate certificates for each subdomain (eg example.com, blog.example.com, shop.example.com), you can use one wildcard certificate for all subdomains (.example.com). This certificate is installed for 3 months and must be renewed manually by deleting the certificate and record from the domain's DNS, and repeating the steps to generate and install a new certificate.
Installing a Let's Encrypt certificate
Installing a Let's Encrypt certificate through the Mirohost panel is possible only if the domain is directed to the Mirohost IP server allocated to the site
To generate and install a certificate, select the "Let's Encrypt certificates" tab in the "SSL certificates" section, click the "Create certificate" button opposite the desired domain or subdomain

Enable the generated certificates

Check the operation of the certificate on your site by opening it
Import certificate files
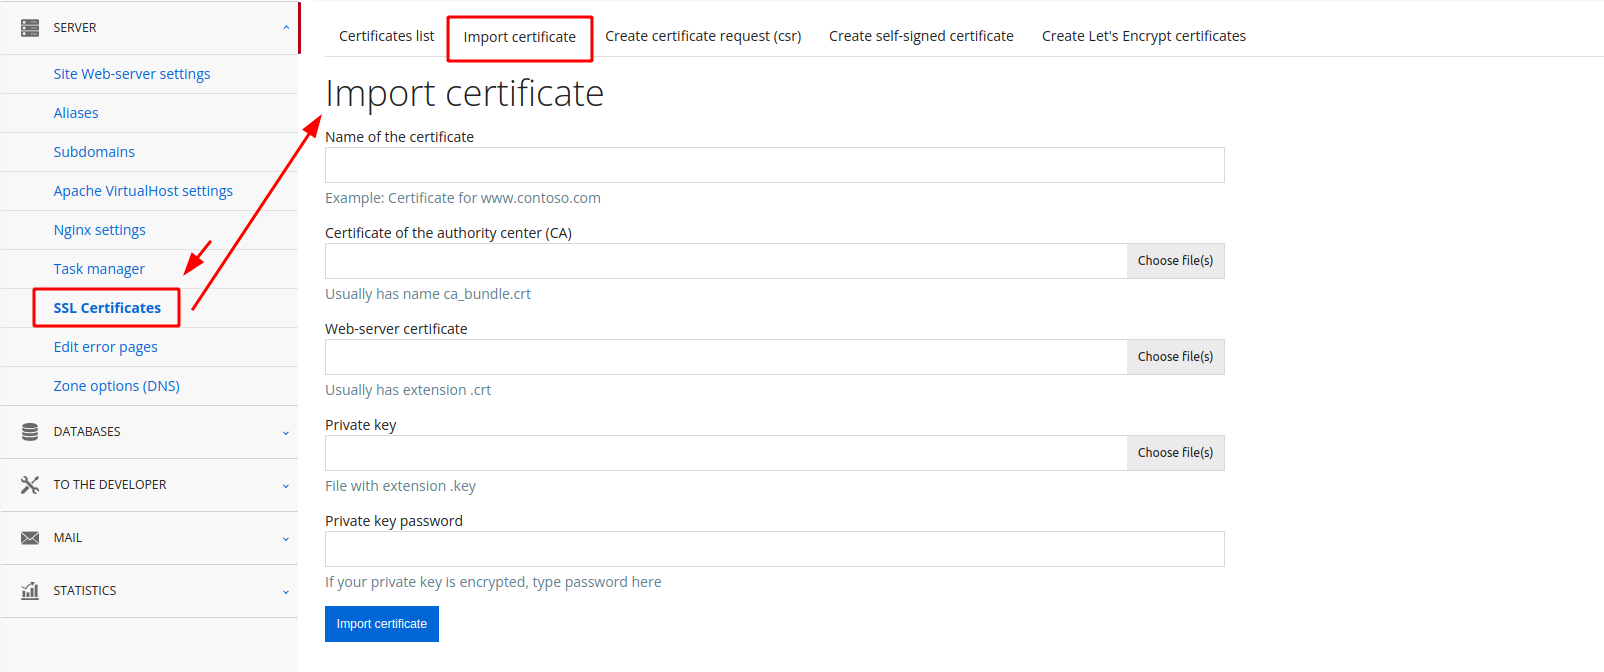
If you purchased an SSL certificate and were provided with an archive of files or separate certificate files and keys, you can also import the certificate through the hosting control panel, through "Server" >> "SSL certificates" tab "Import certificate"

In case of difficulties with uploading the certificate files or if you have other questions, please write to our technical support, we will help you with uploading the data.
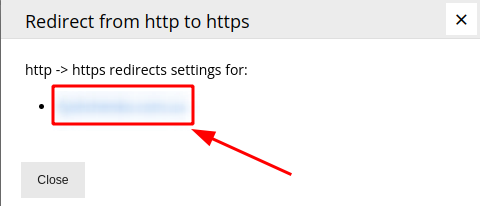
If after installing and activating the SSL certificate on the site code side there is no redirection from http:// to https://, we recommend enabling this redirection by clicking on the "Redirect from http to https" button

Click on the domain

- turn on the option

- and save the settings by clicking "Save" at the end of the page
Self-signed certificate
A self-signed certificate is an SSL certificate created by the user himself. It is not recommended to use such a certificate for a work site. Although in terms of technical characteristics it does not differ from paid certificates, when visiting a site with such a certificate, the user will see a warning about a dangerous connection. Self-signed certificates are typically used for SSL testing or on sites that only a limited number of people have access to.
