WordPress installation on Mirohost hosting
There are different ways to install CMS, you can choose the one that is more convenient for you.
One option is to download the installation package from the official website of the CMS developer, unpack it, and perform the preparation and configuration steps.
Or you can install it through the hosting control panel for further creation, configuration, or import of the site. To do this, follow the steps described below.
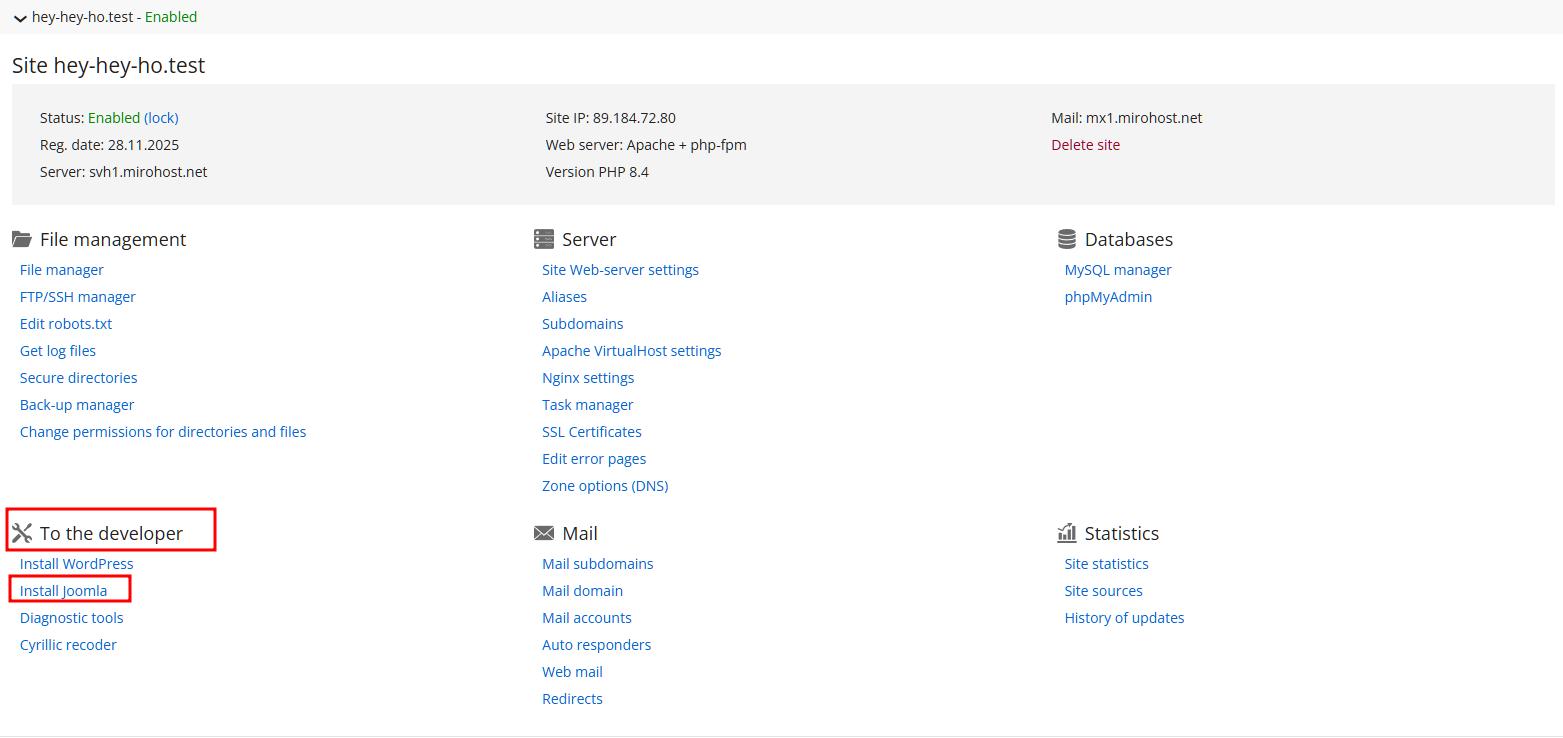
Step 1. Log in to the hosting control panel, go to the desired hosting package management and select the site on which you want to install the WordPress CMS
Step 2. Go to the "Developer" section -- "Install WordPress"
Step 3. Select the installation option:
- on the main site
- a subdirectory in the main site
- create a subdomain and install the CMS on the subdomain
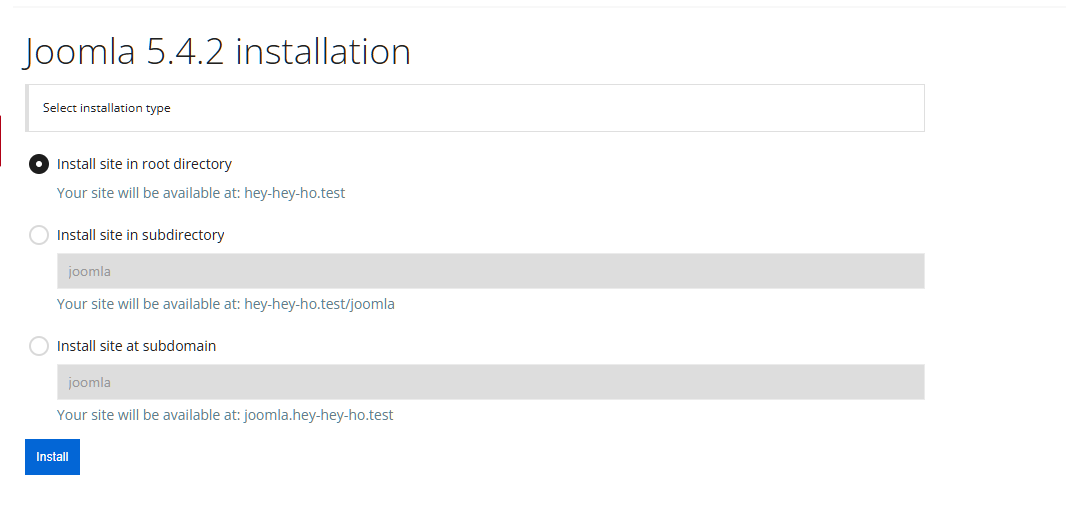
Below is an example if you choose to install the CMS in the site directory
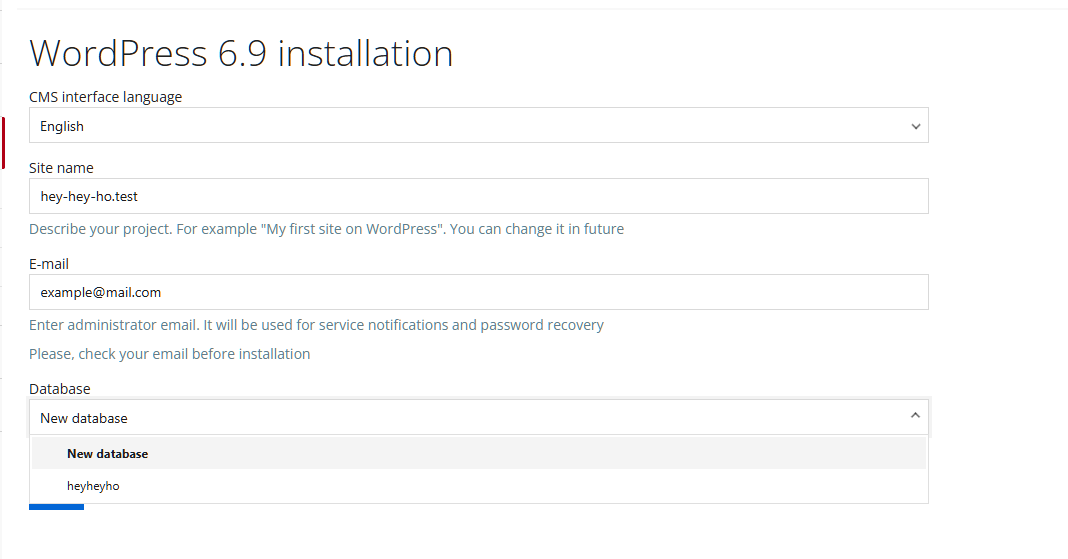
Step 4. Fill in the fields, specifying the name, e-mail to which messages will be sent, for example, such as login and password for authorization in the site's admin panel, select an already created database from the list, or you can select the "New database" option and create a new database with which the site will work
In order to continue setting up the domain or subdomain after installation, the DNS zone must be directed to our hosting
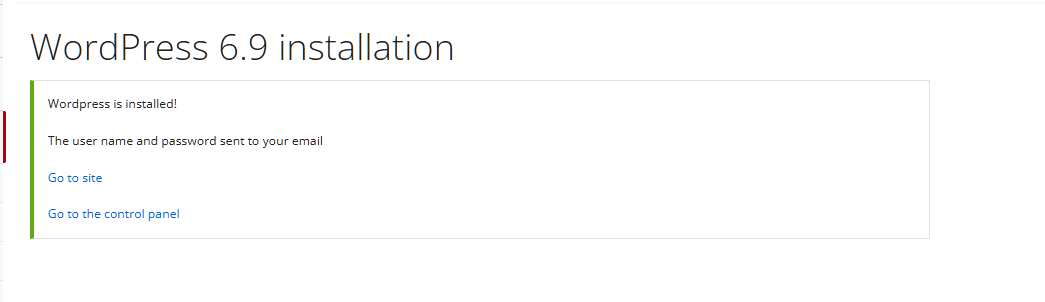
Step 5. Select the option:
- "Go to site" - the site with the WordPress home page will open
- "Go to control panel" - the page for authorization in the site's admin panel will open