How to add users and grant access to the Mirohost control panel
The system allows you to delegate technical and financial tasks without transferring full control over the account.
Important: The ability to place new orders and manage panel users (add/remove permissions) is available exclusively to the Service Owner.
Administrator - this access level is intended for full technical support of the account.
-
Service Access: Has access to all services and orders under your client code.
-
FTP/SSH Management Can freely create new users, delete them, or change passwords for both protocols (FTP and SSH).
-
Payment: Has the right to make payments for any services within the account.
-
Restrictions: Cannot order new services or manage the list of users with access to the service control panel.
User — the most restricted role, suitable for developers working on specific projects.
-
Service access: Sees only one specific order or a defined list of websites to which access has been granted.
-
FTP Management: Has full rights to create, delete, and configure passwords for FTP accounts.
-
SSH Management: Rights are limited—can only change the password or delete an existing SSH user (creating new SSH access is not possible).
-
Payment: Can pay invoices related exclusively to the websites or orders assigned to them.
-
Restrictions: Cannot view other account services, cannot create new orders, and cannot add users to the control panel.
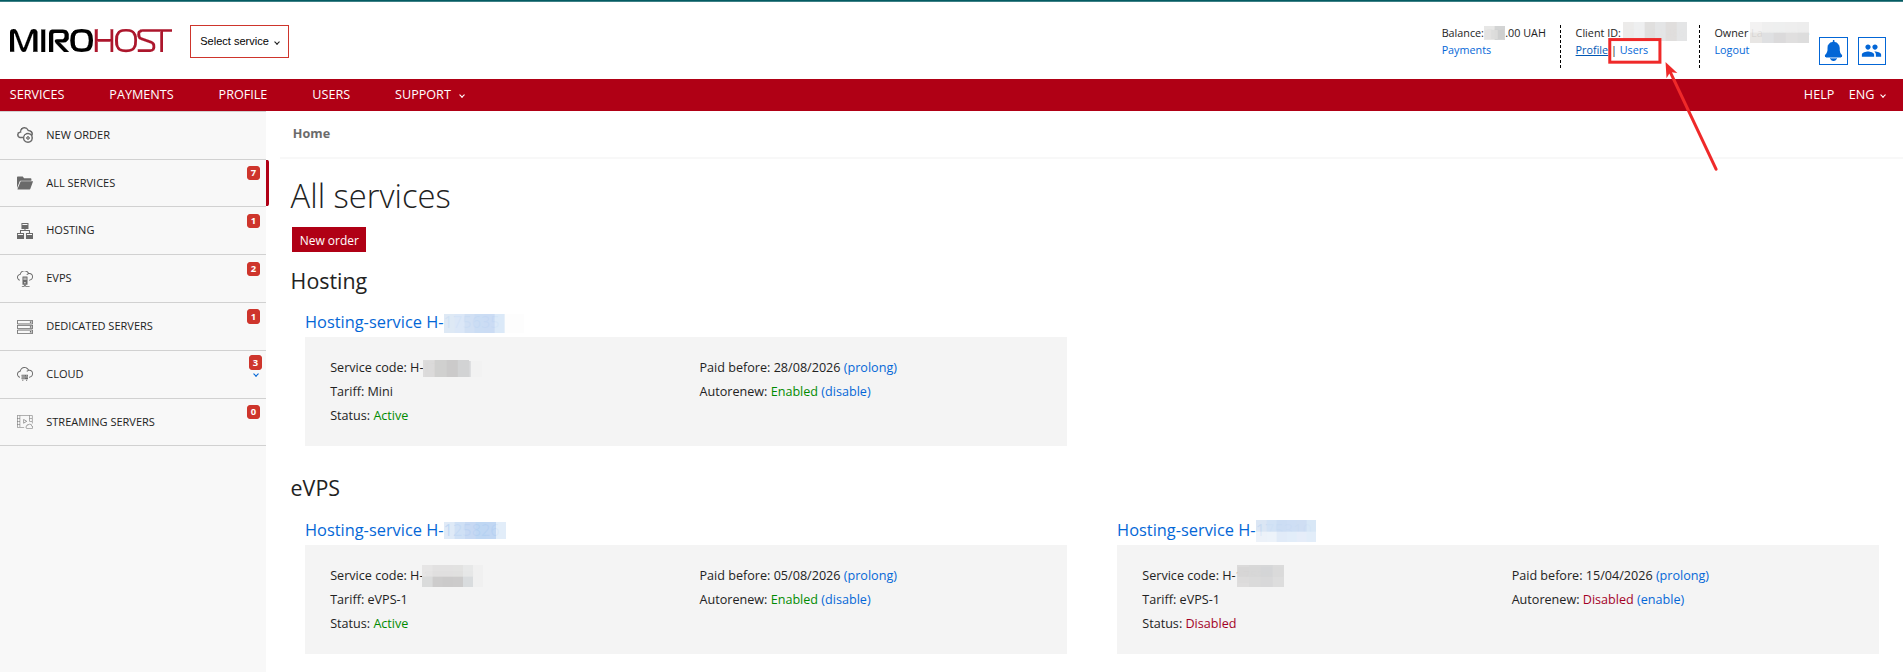
Step 1. Login to the Mirohost control panel
Step 2. Select ‘Users’
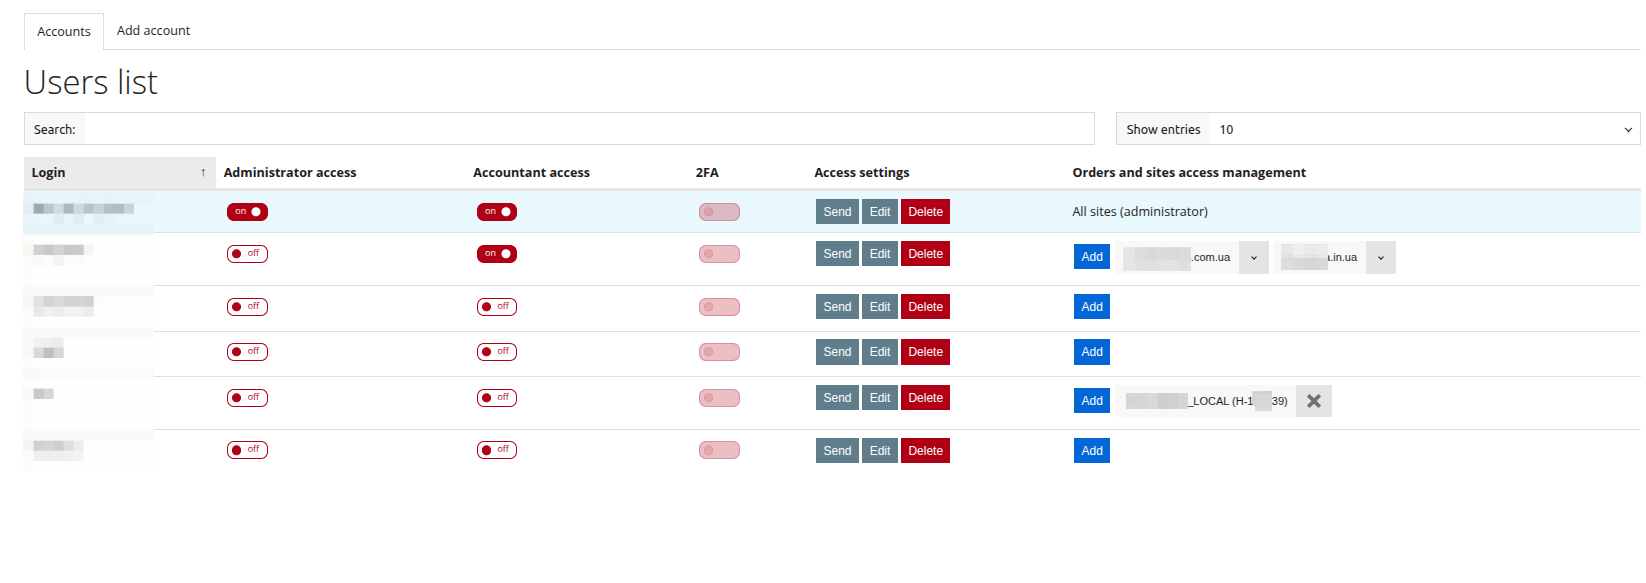
Step 3. Press ‘Add account’
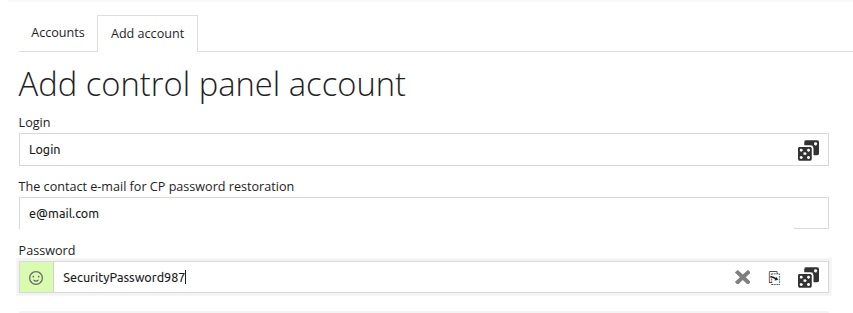
Step 4. Generate or enter a username and password, specify the user's email address where they will receive access credentials, and which they can use to recover their access.
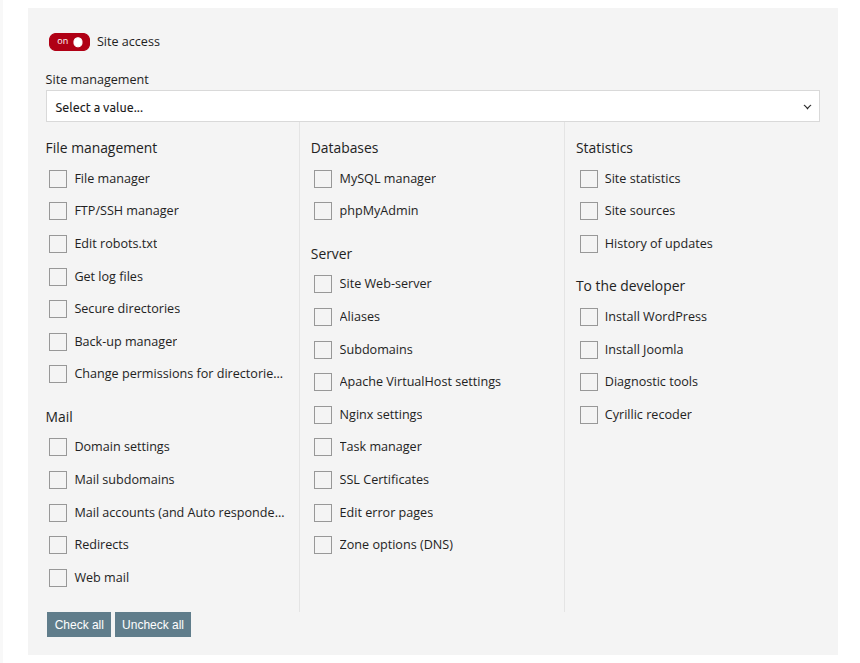
Step 5. Select access options.
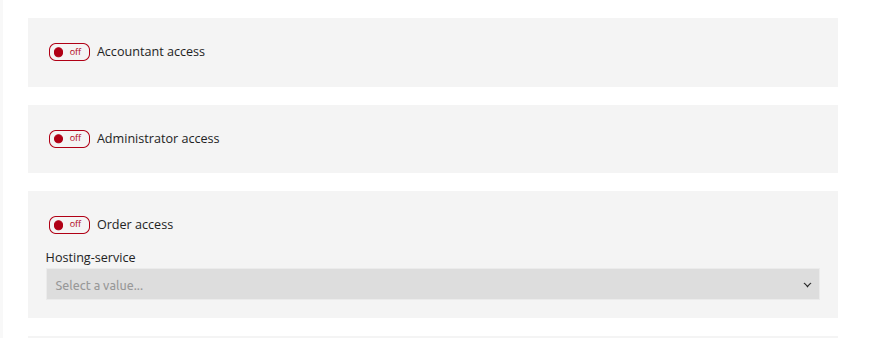
Step 6. Select the available options for the new user or press ‘Select all’.
You can grant a user access to one of the hosting packages by enabling the “Access to Order” option
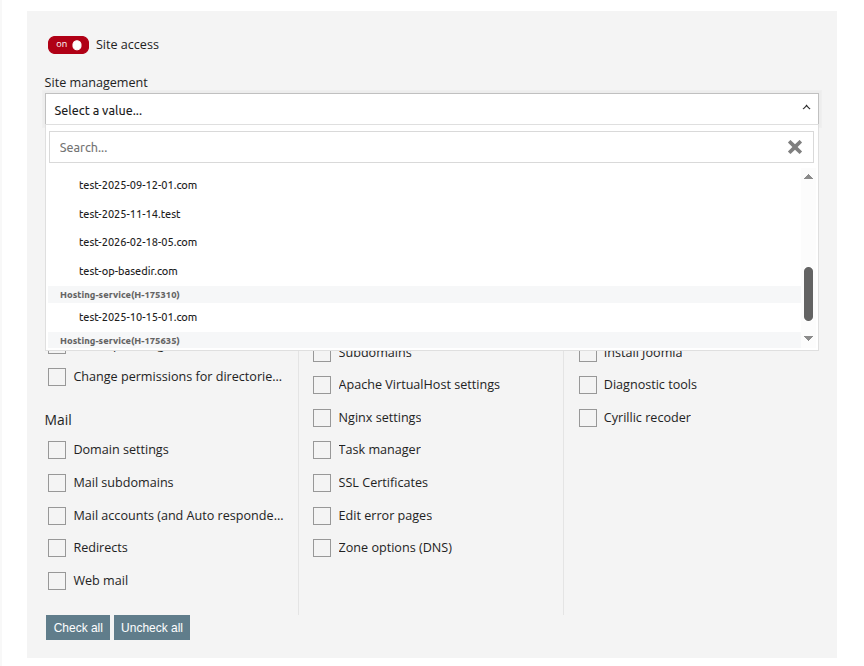
Or grant access to just one of the websites by enabling the “Access to Website” option > “Website Management” > select one of the websites and specify which options will be available to the new user, or click “Select All”
Once an account with User privileges has been created, you can add access for that account to either another hosting package or another website; to do this, simply click the “Add” button
Step 7. Save the settings.